Setting up: your first ten minutes
This is every screen you'll see, in the order you'll see it, with a picture of each one.
It takes about ten minutes and you only do it once. There are no wrong answers, nothing is permanent, and you can change any of it later in Settings.
If a question doesn't suit you, look for Skip for now at the bottom of the screen. Skipping is a normal thing to do.
Before you begin
You need a phone with a web browser and an email address. That's all. There's no app to download and nothing to pay — Food Signals is free during the closed trial.
Open your phone's browser — Safari on an iPhone, Chrome on an Android — and go to:
portal.food-signals.com
Step 1 — Create your account
This is the first screen you'll see. If you've been here before, sign in with your email and password. If this is your first time, tap No account? Sign up.
You can also tap Sign in with Google to use a Google account you already have. If you do, you can skip the password steps entirely.
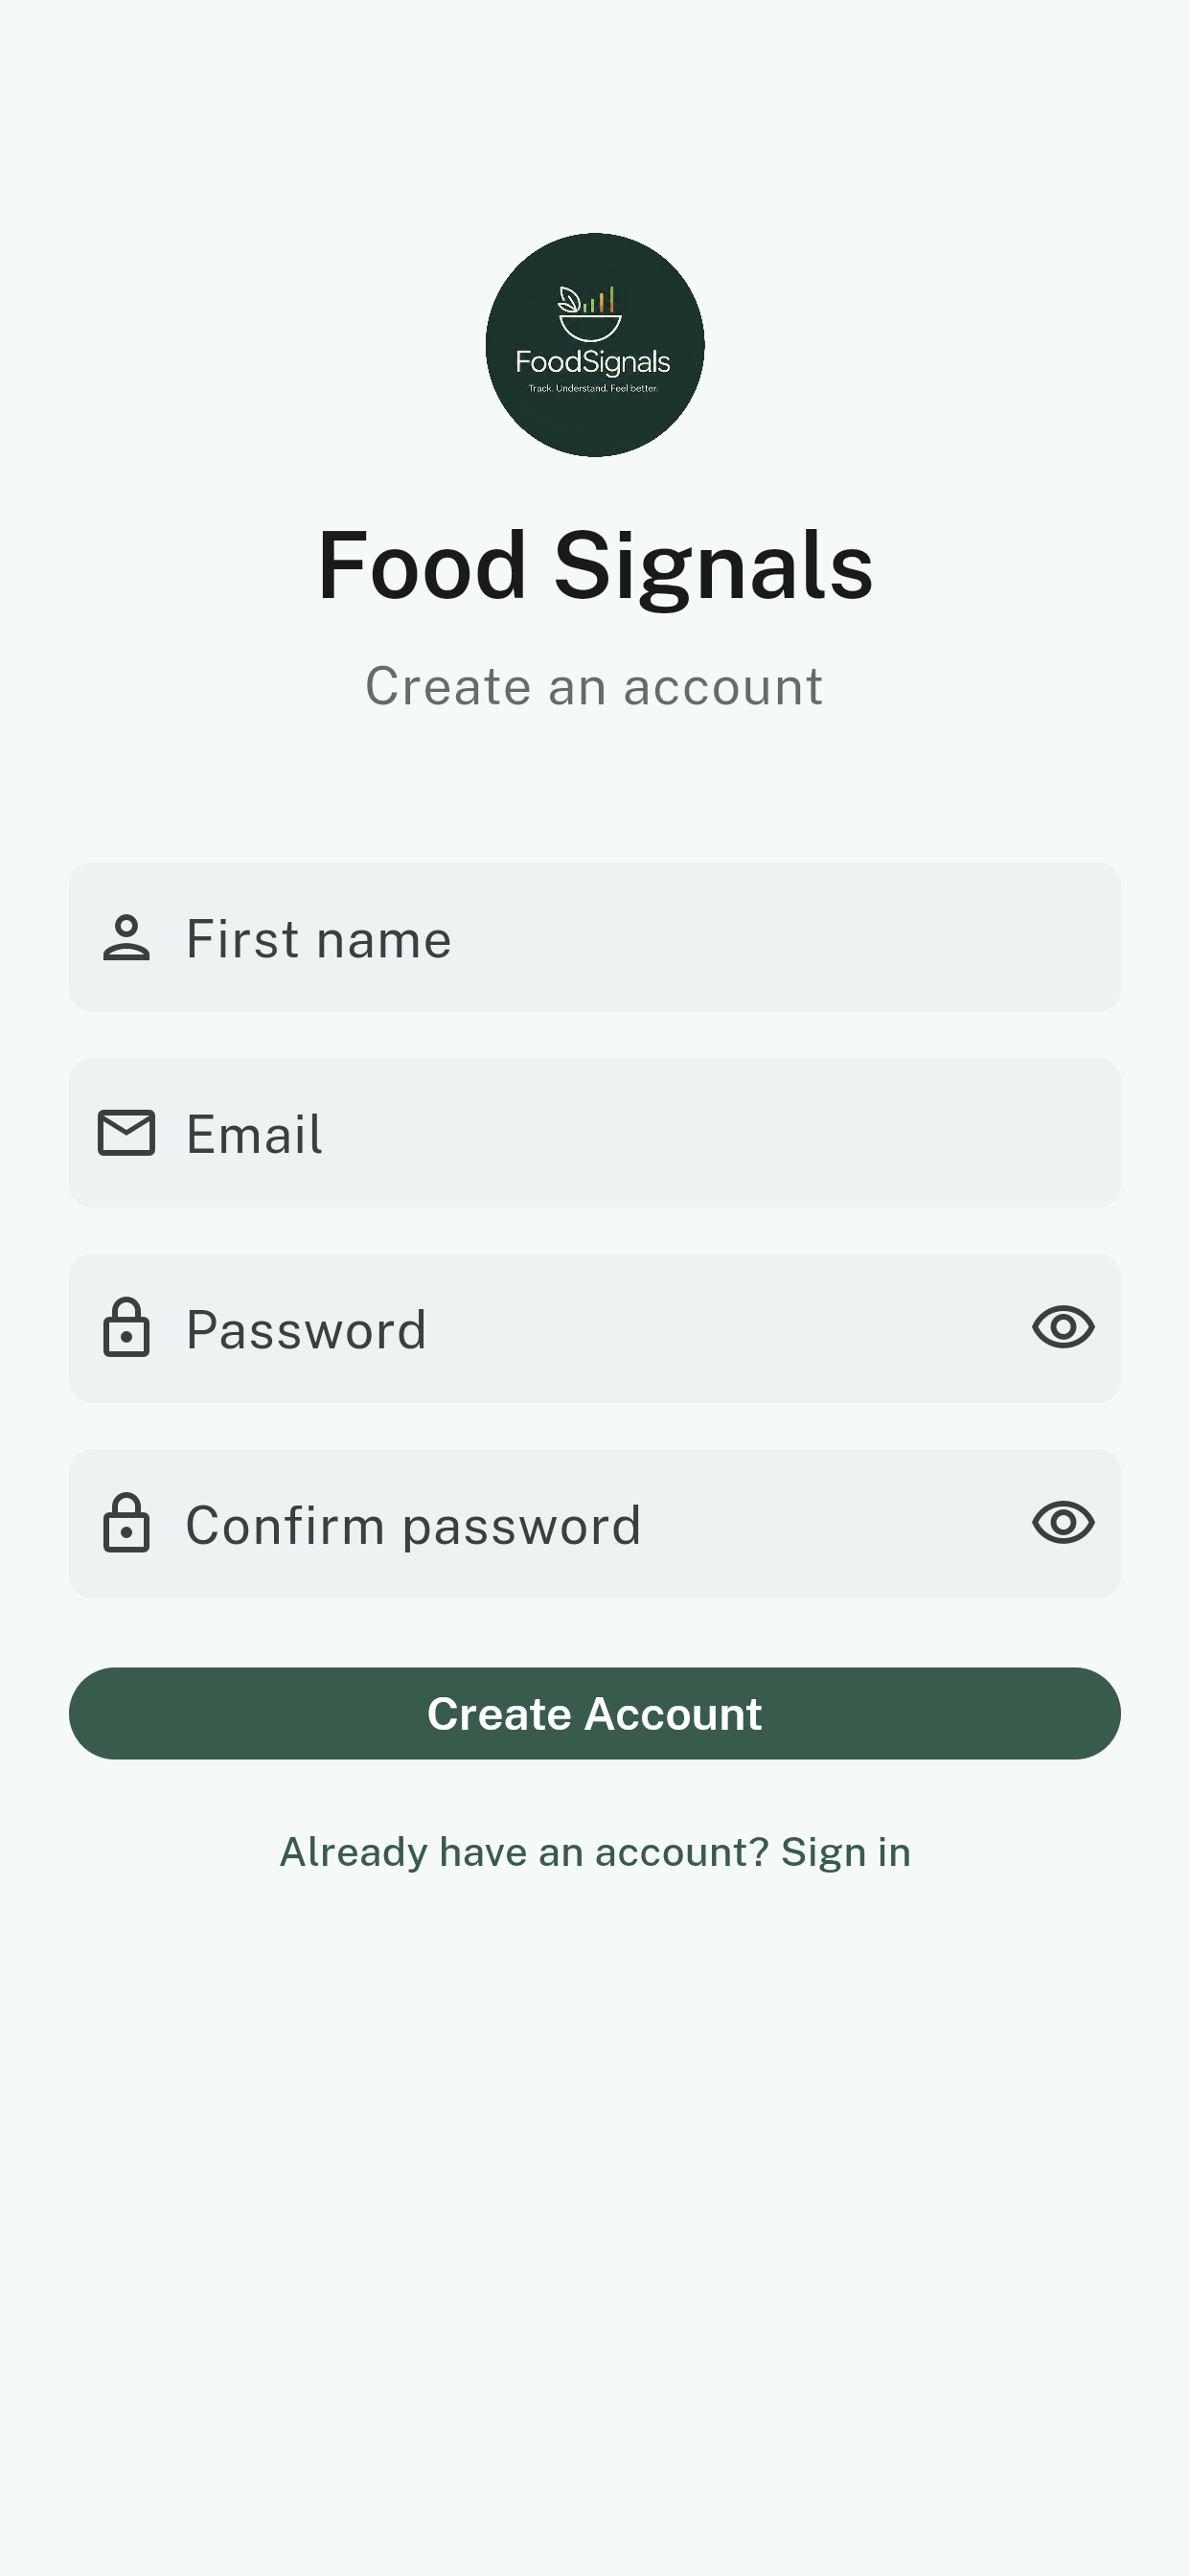
Fill in your first name, your email address, and a password. Type the same password again in Confirm password — this is just to catch typos. If you want to check what you've typed, tap the eye icon at the end of the field.
Then tap Create Account.
Then check your email
We'll send you an email to confirm the address is really yours. Open it and tap the link inside. That activates your account.
If it hasn't arrived after a few minutes, check your junk or spam folder — that's where it usually is.
If you forget your password later
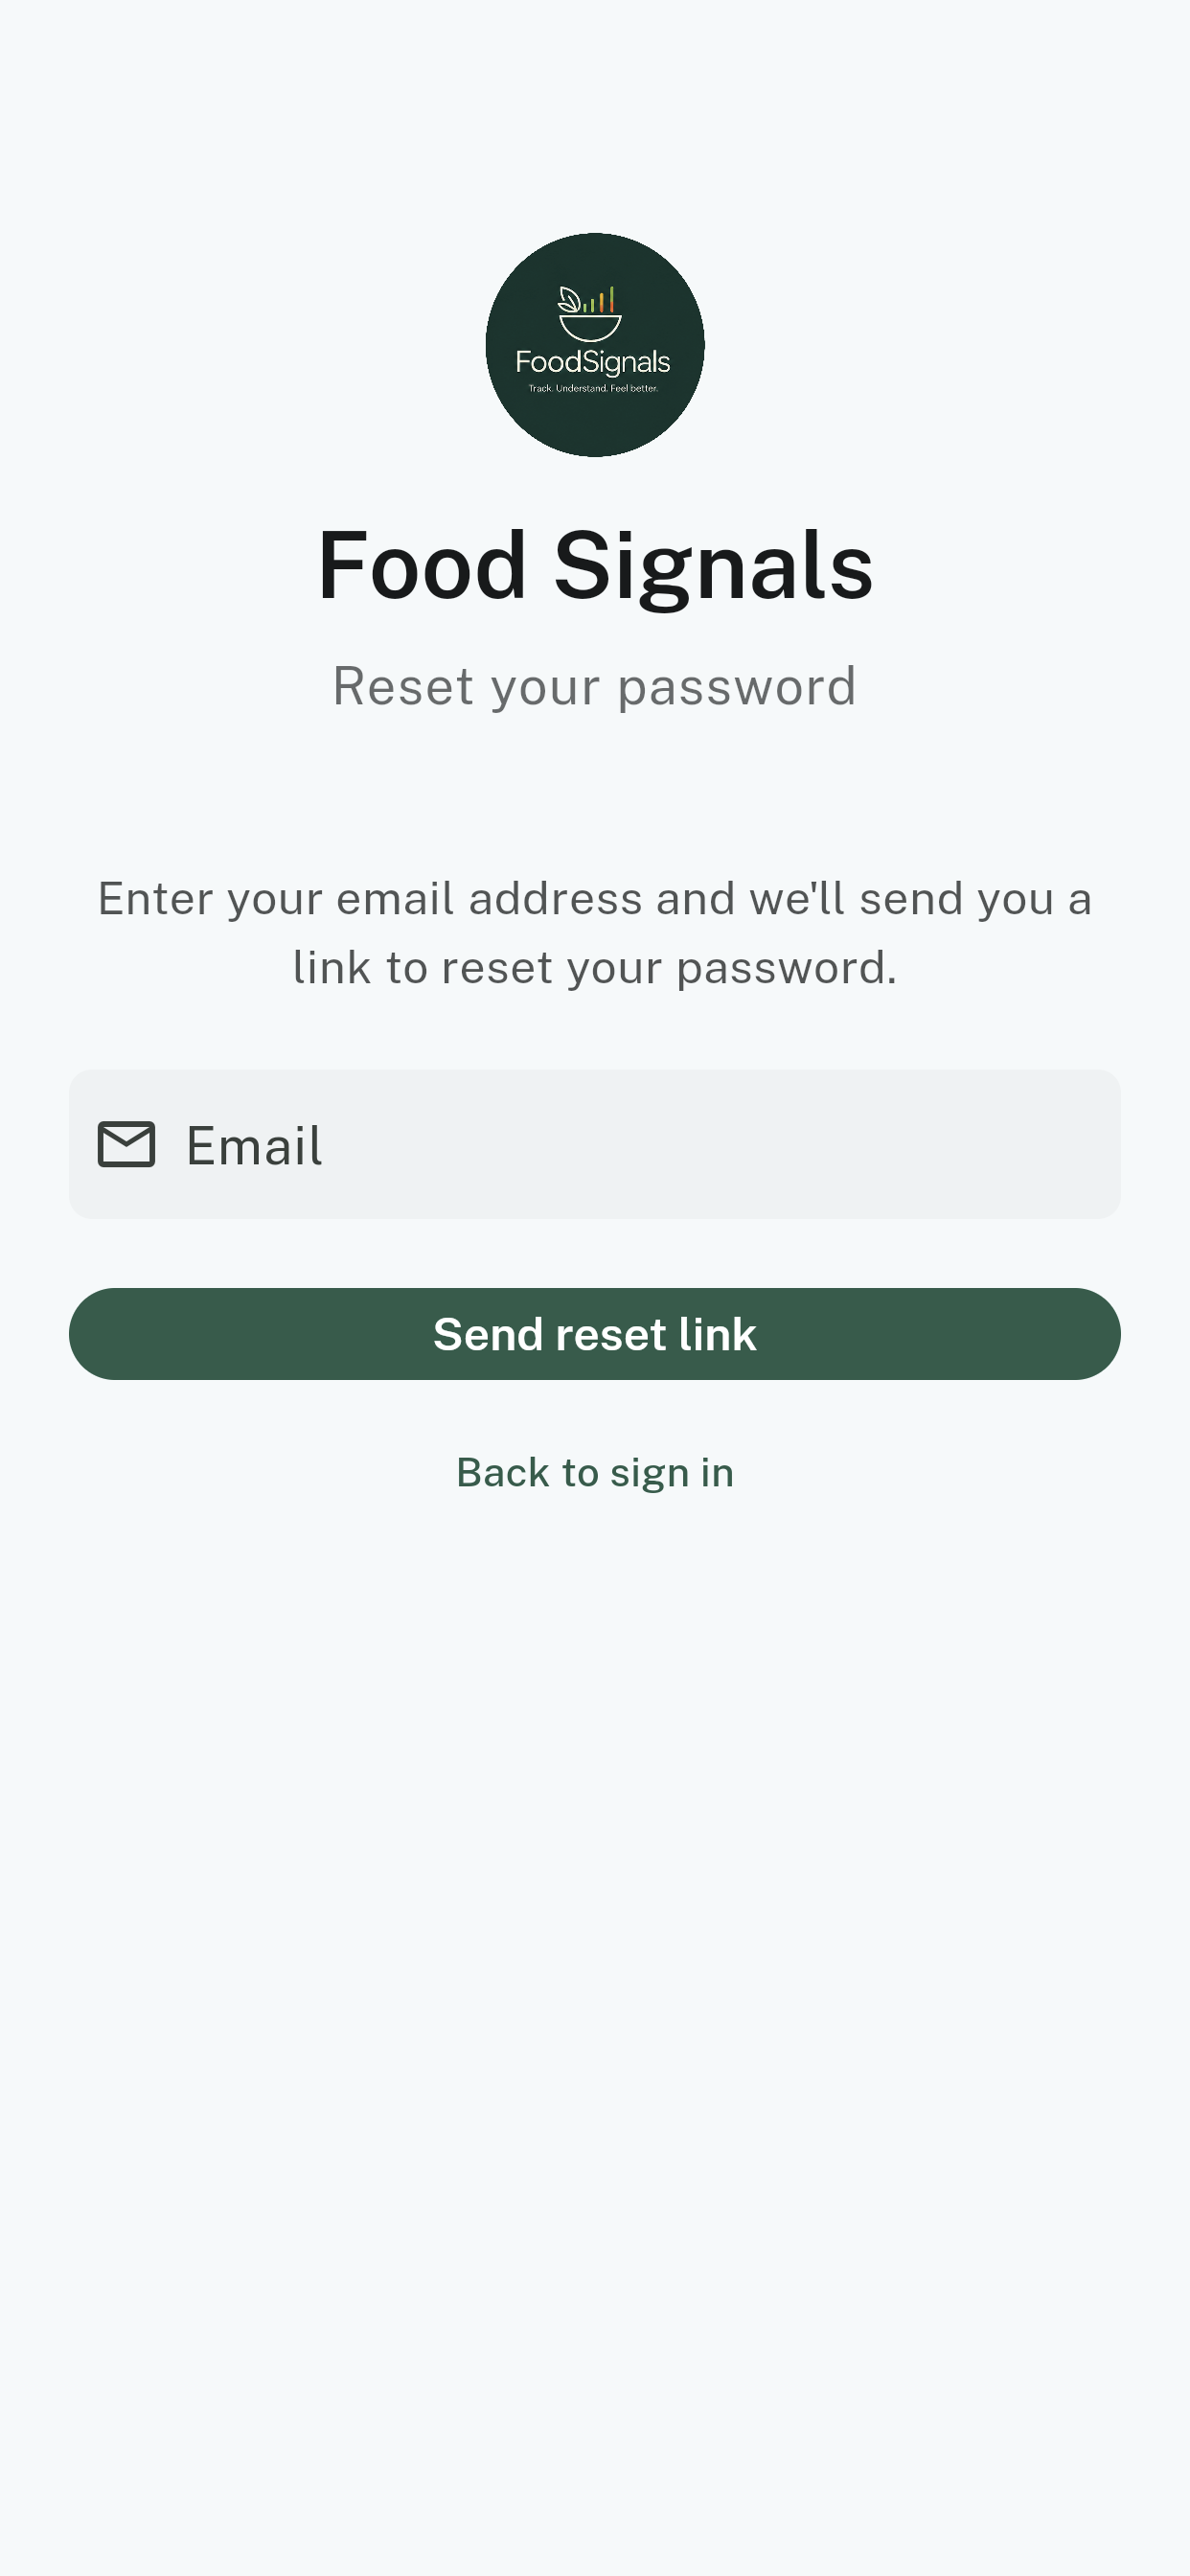
It happens. On the sign-in screen, tap Forgot password? Reset here, type your email address, and tap Send reset link. We'll email you a link to choose a new one.
Step 2 — Welcome
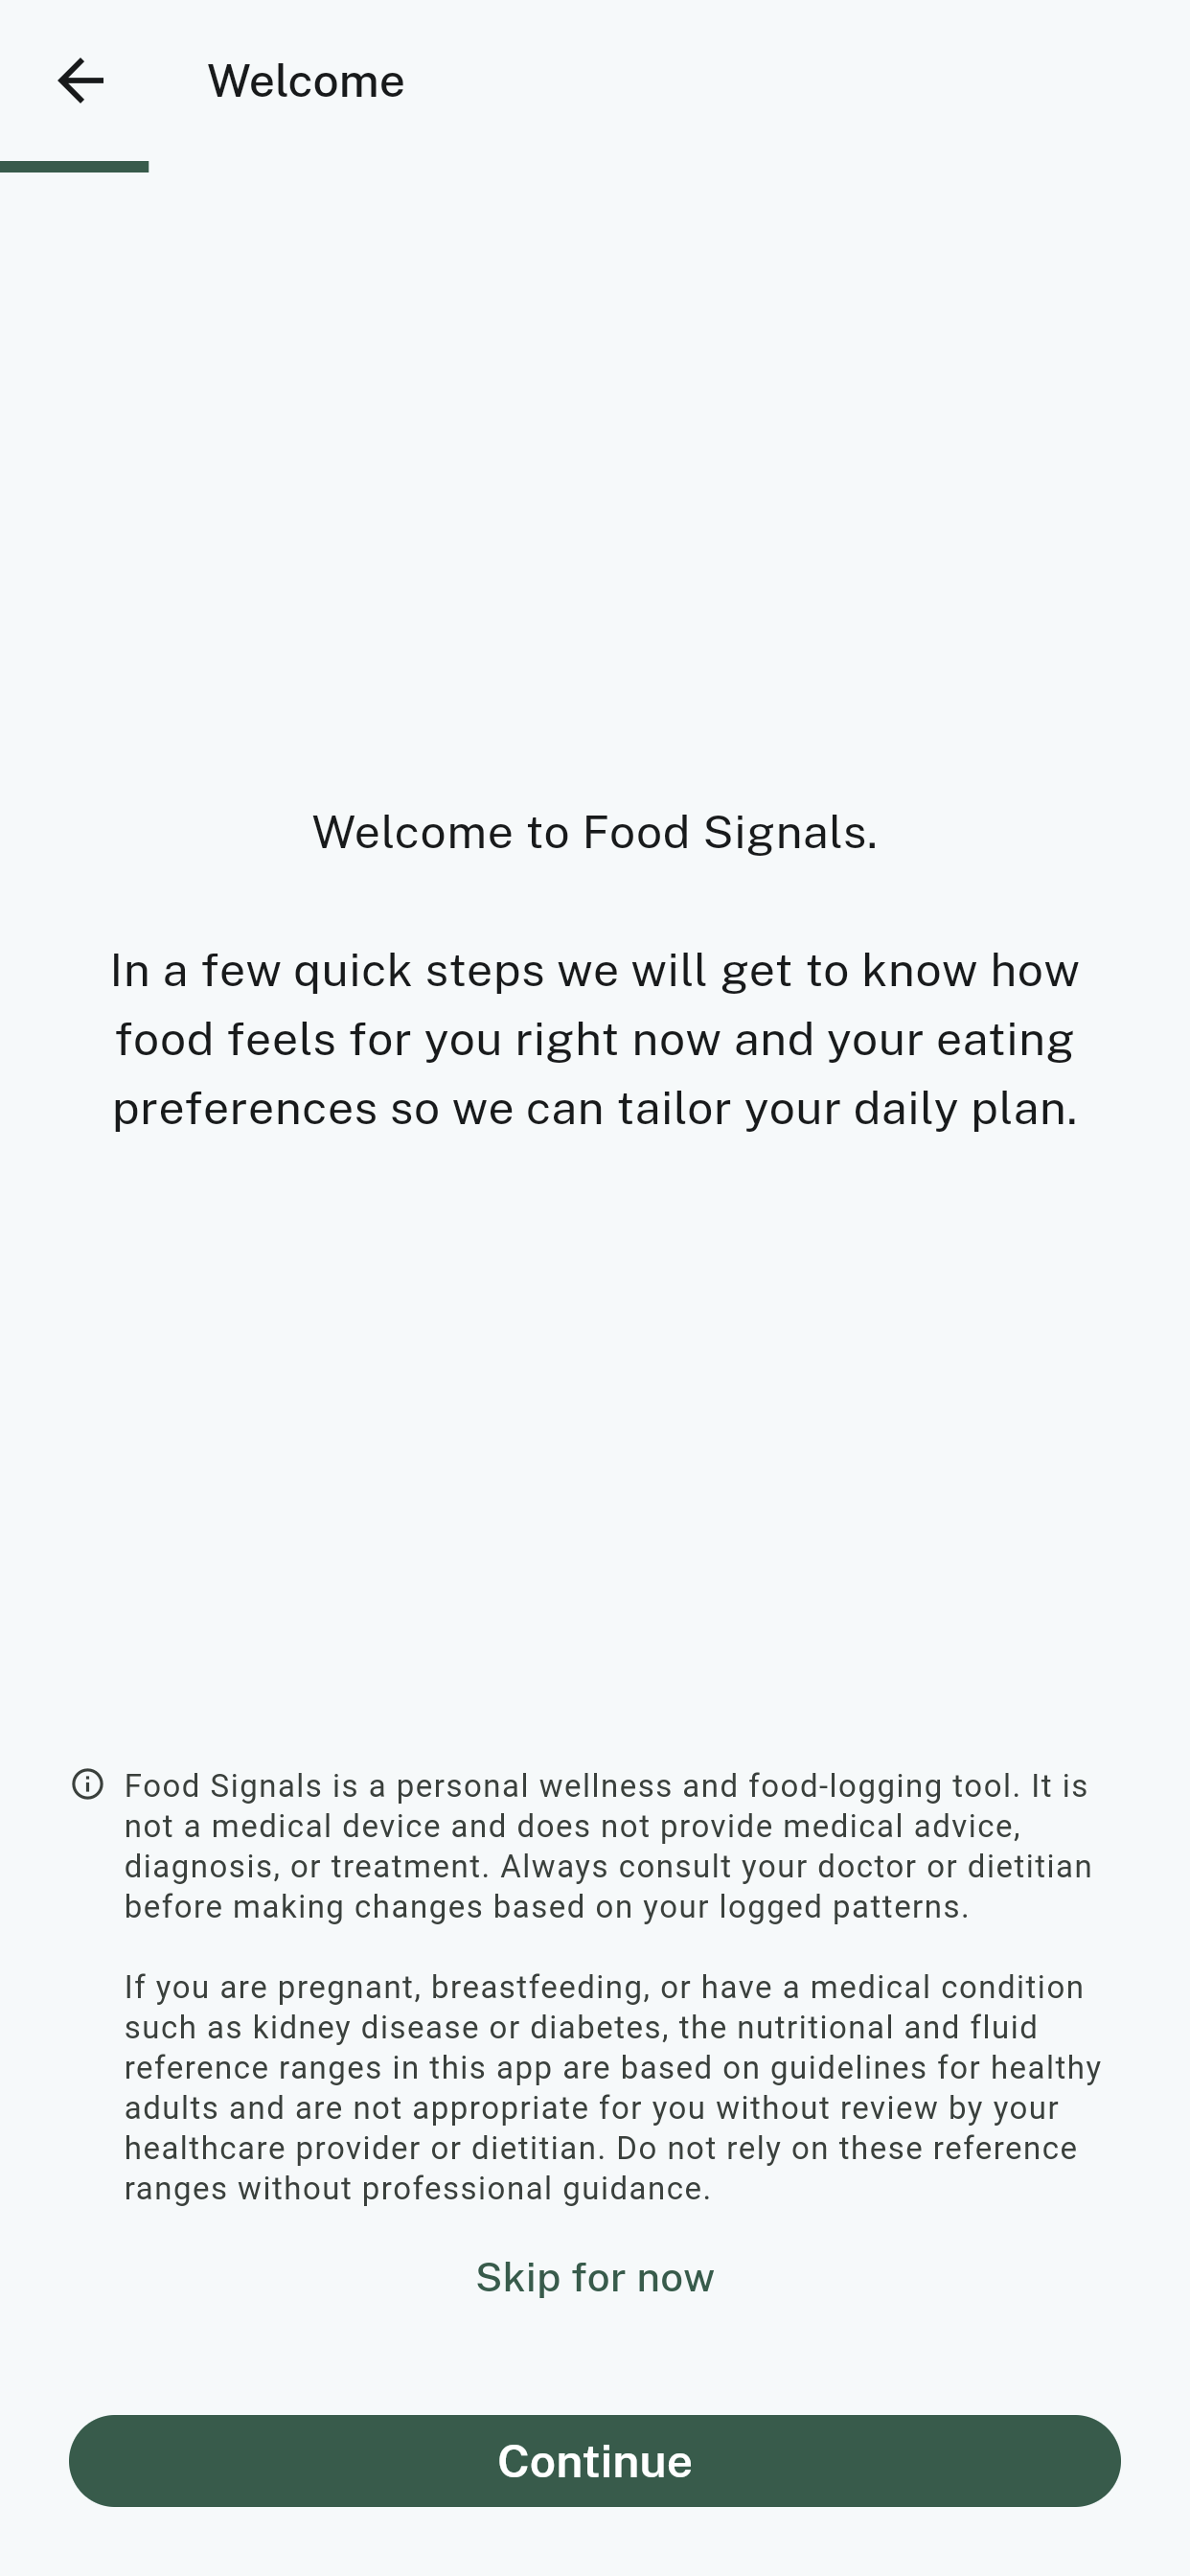
Now the setup questions begin. There are eight short screens. The green bar along the top fills up as you go, so you can always see how much is left.
Read the note at the bottom of this screen. It's the important one: Food Signals is a personal wellness and food-logging tool. It is not a medical device, and it doesn't give medical advice. Your doctor and your dietitian remain the people who guide your care.
Tap Continue.
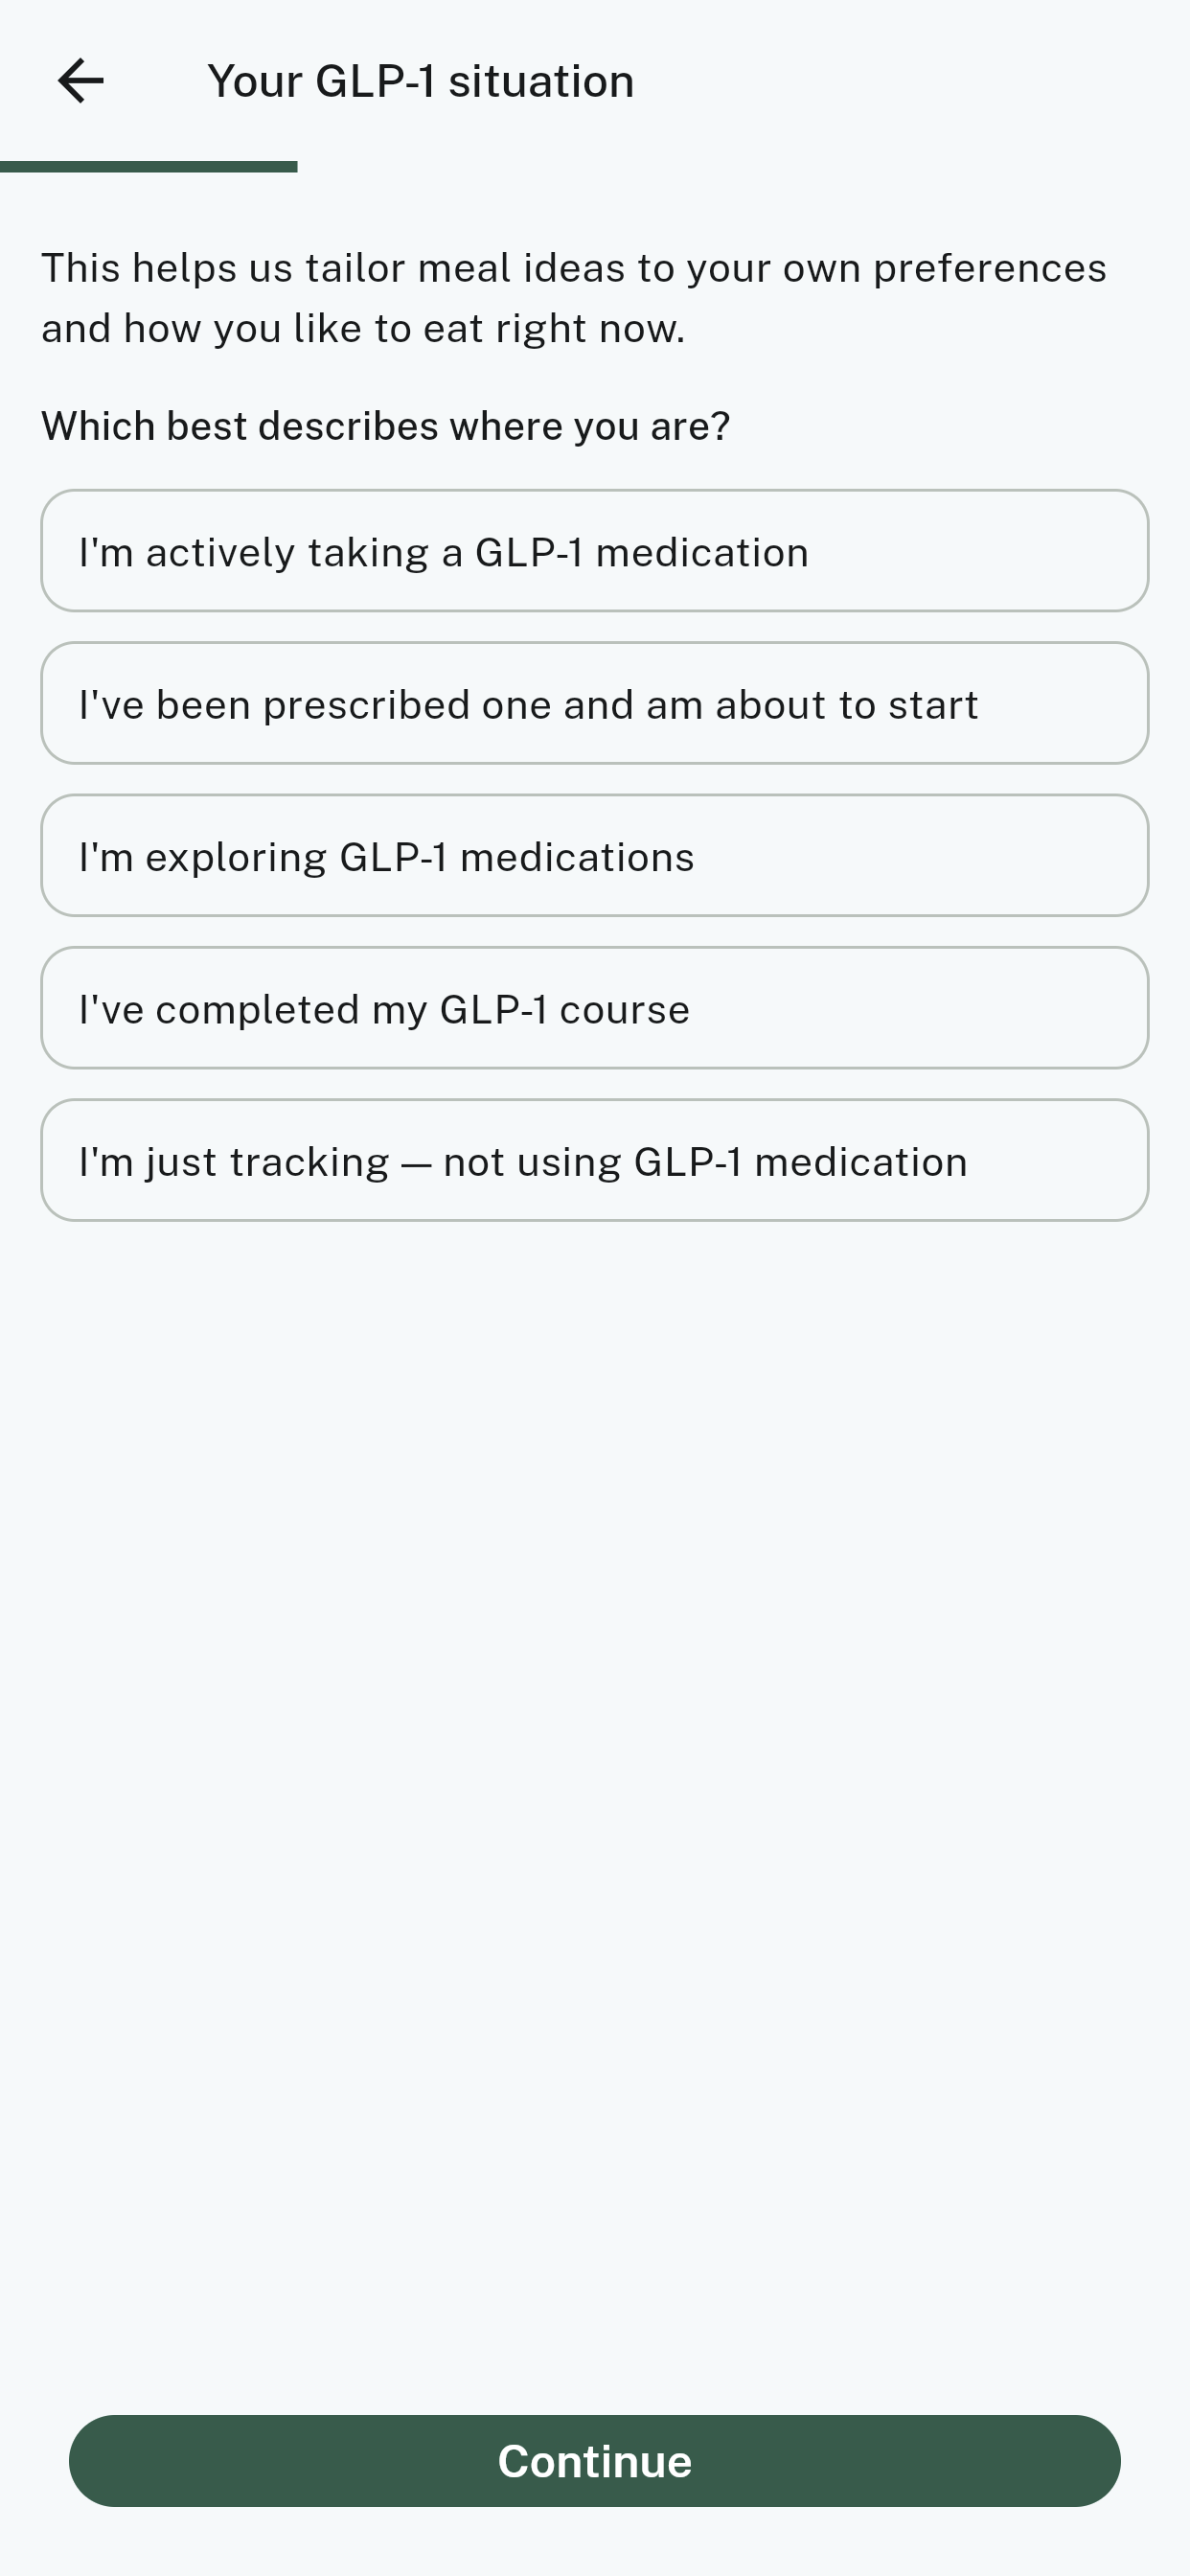
Step 3 — Your GLP-1 situation
Choose the one that describes where you are right now. This helps the app pitch its meal ideas at the right place for you — someone about to start their first dose is in a very different spot from someone six months in.
You'll never be asked which medication you take, or what dose you're on. Food Signals doesn't record either.
Tap the option that fits, then tap Continue.
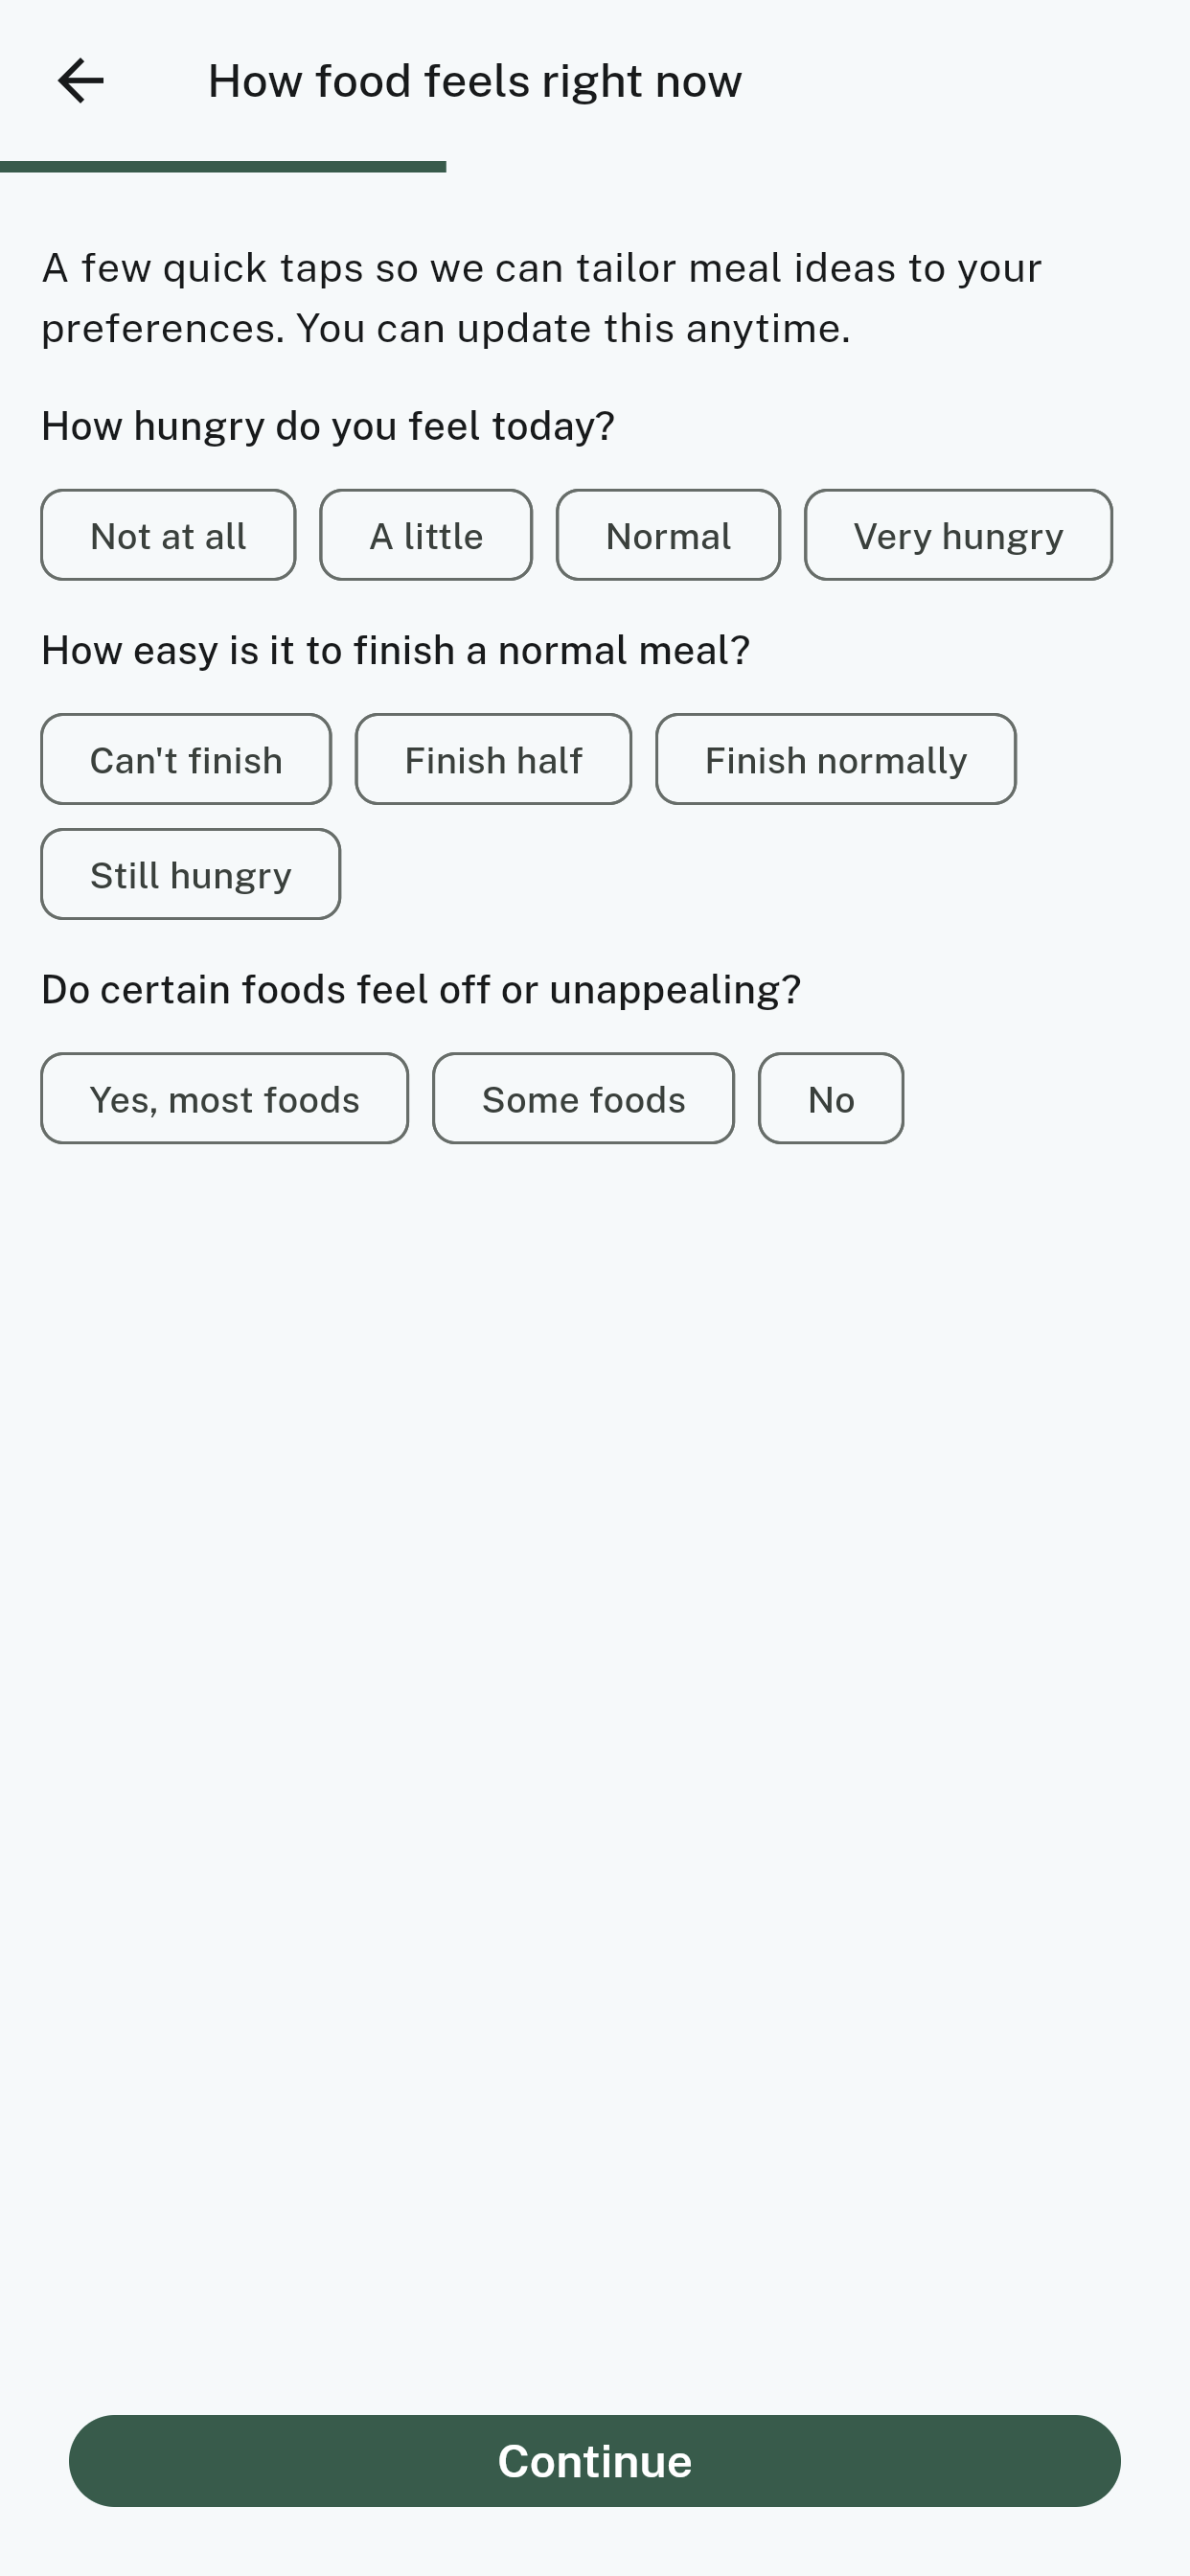
Step 4 — How food feels right now
Three quick questions about your appetite today: how hungry you feel, how easy it is to finish a normal meal, and whether some foods have started to feel off.
Answer for how things are this week, not how you wish they were, and not how they were before you started. On a GLP-1 this changes over time — that's expected — and you can update these answers whenever things shift.
Tap one answer under each question, then tap Continue.
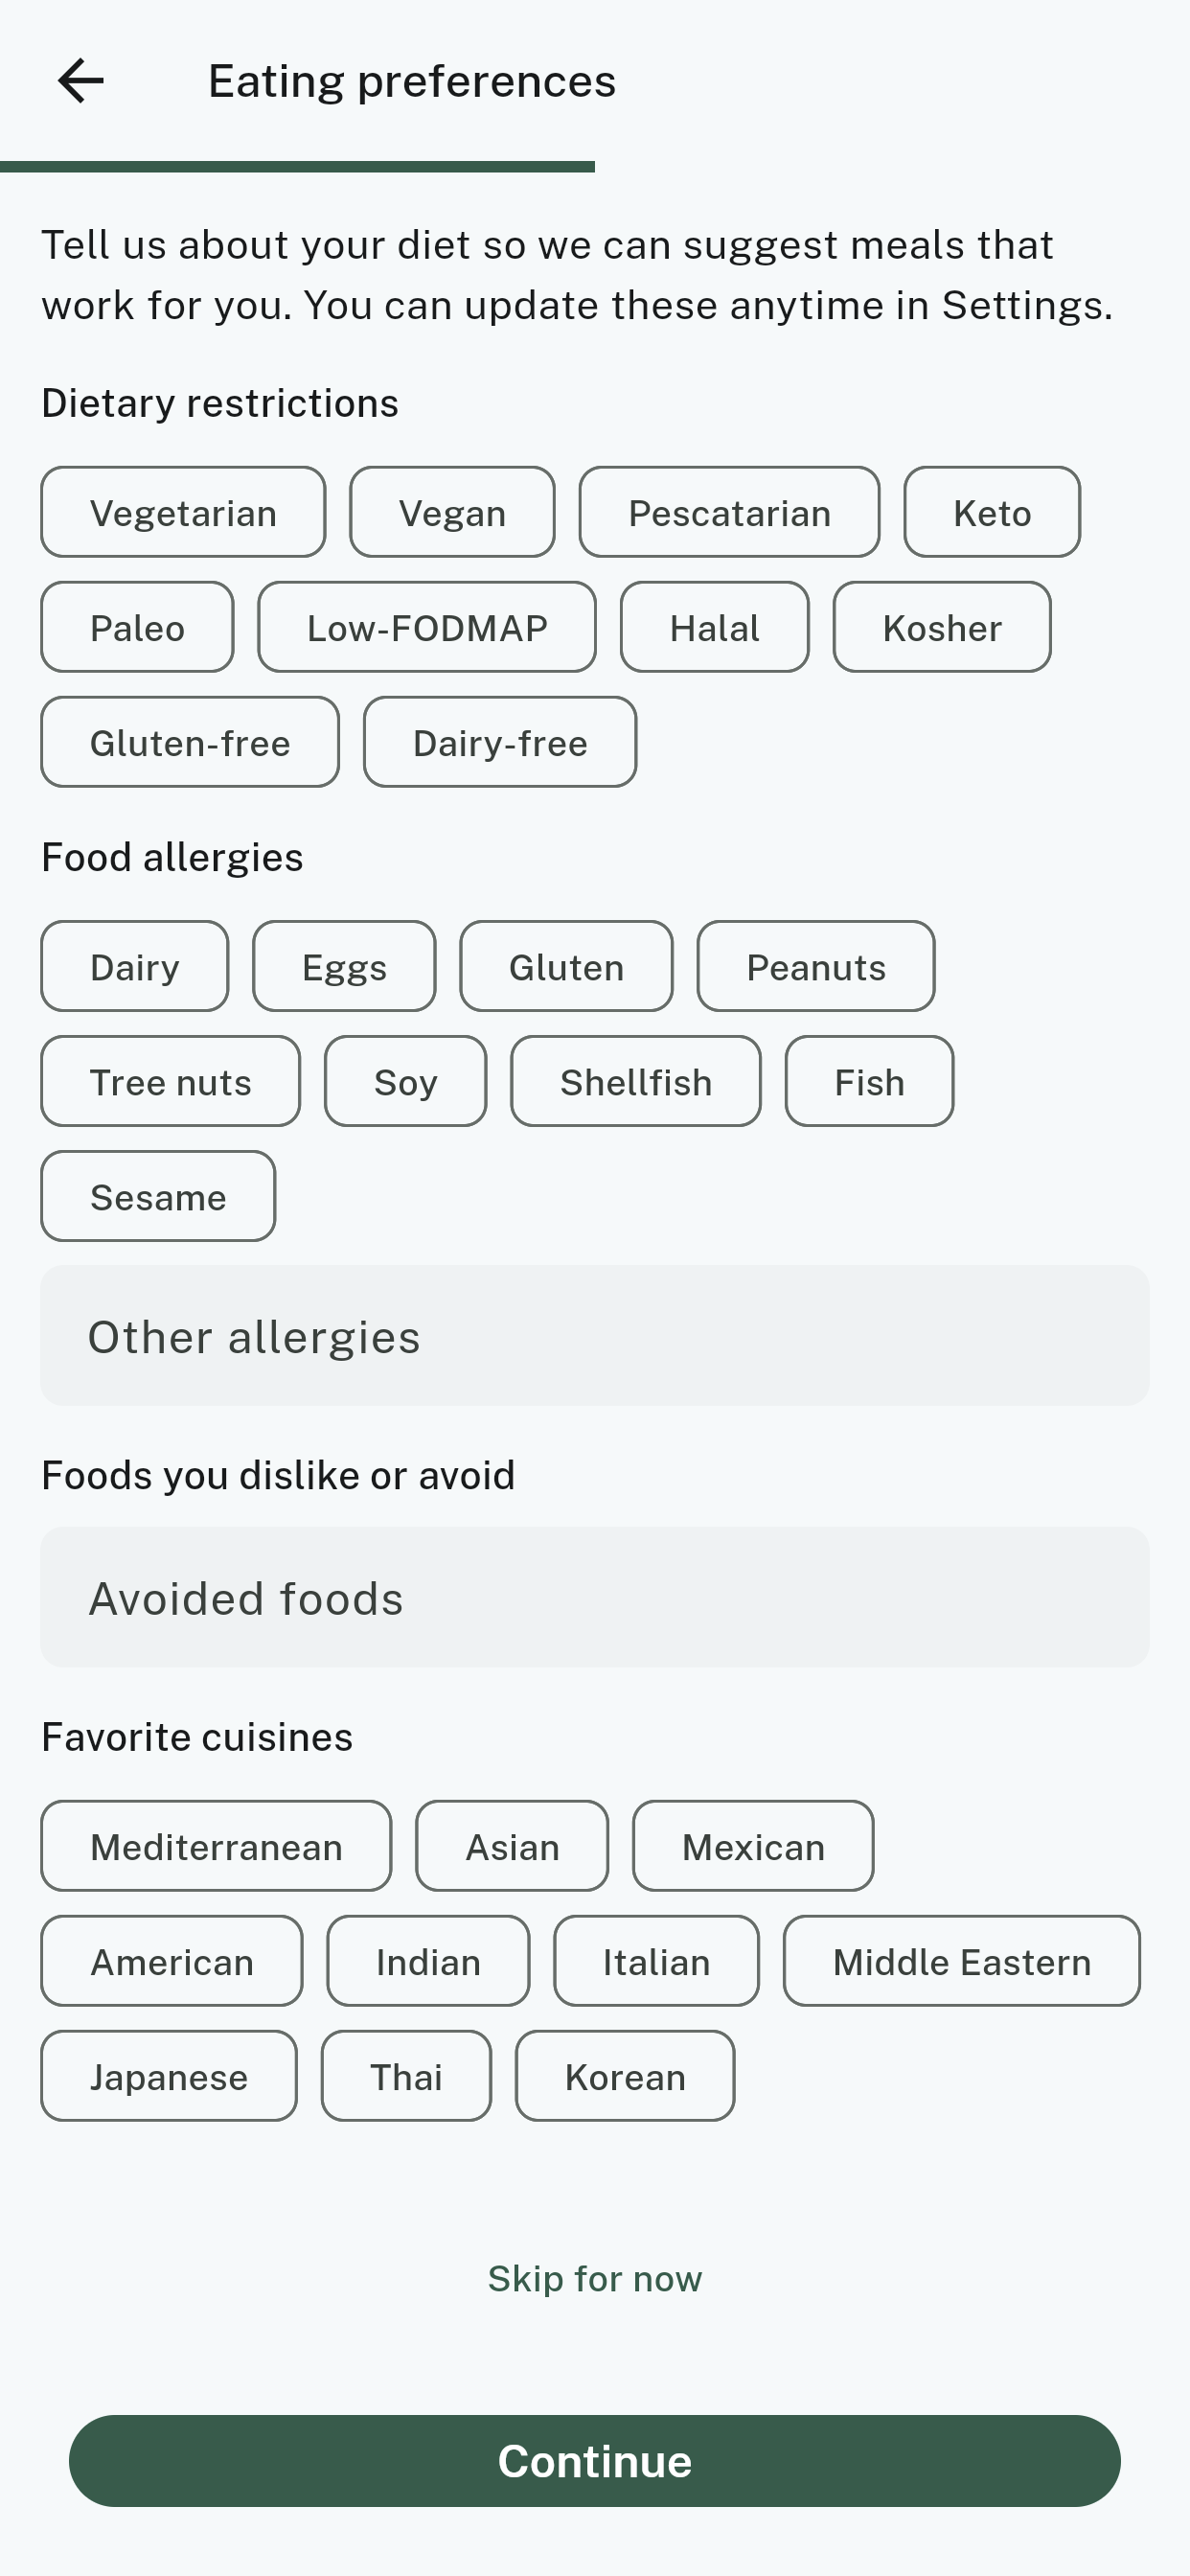
Step 5 — Eating preferences
This is the screen that decides whether the recipes you're shown are ones you'd actually eat.
- Dietary restrictions — tap any that apply, like vegetarian or gluten-free. Tap again to unselect.
- Food allergies — tap the common ones, and type anything else into Other allergies.
- Foods you dislike or avoid — type them in. Be honest. If you can't stand mushrooms, say so.
- Favourite cuisines — tap the styles of food you enjoy.
You can select as many as you like, or none at all. Tap Continue when you're done, or Skip for now to come back to it.
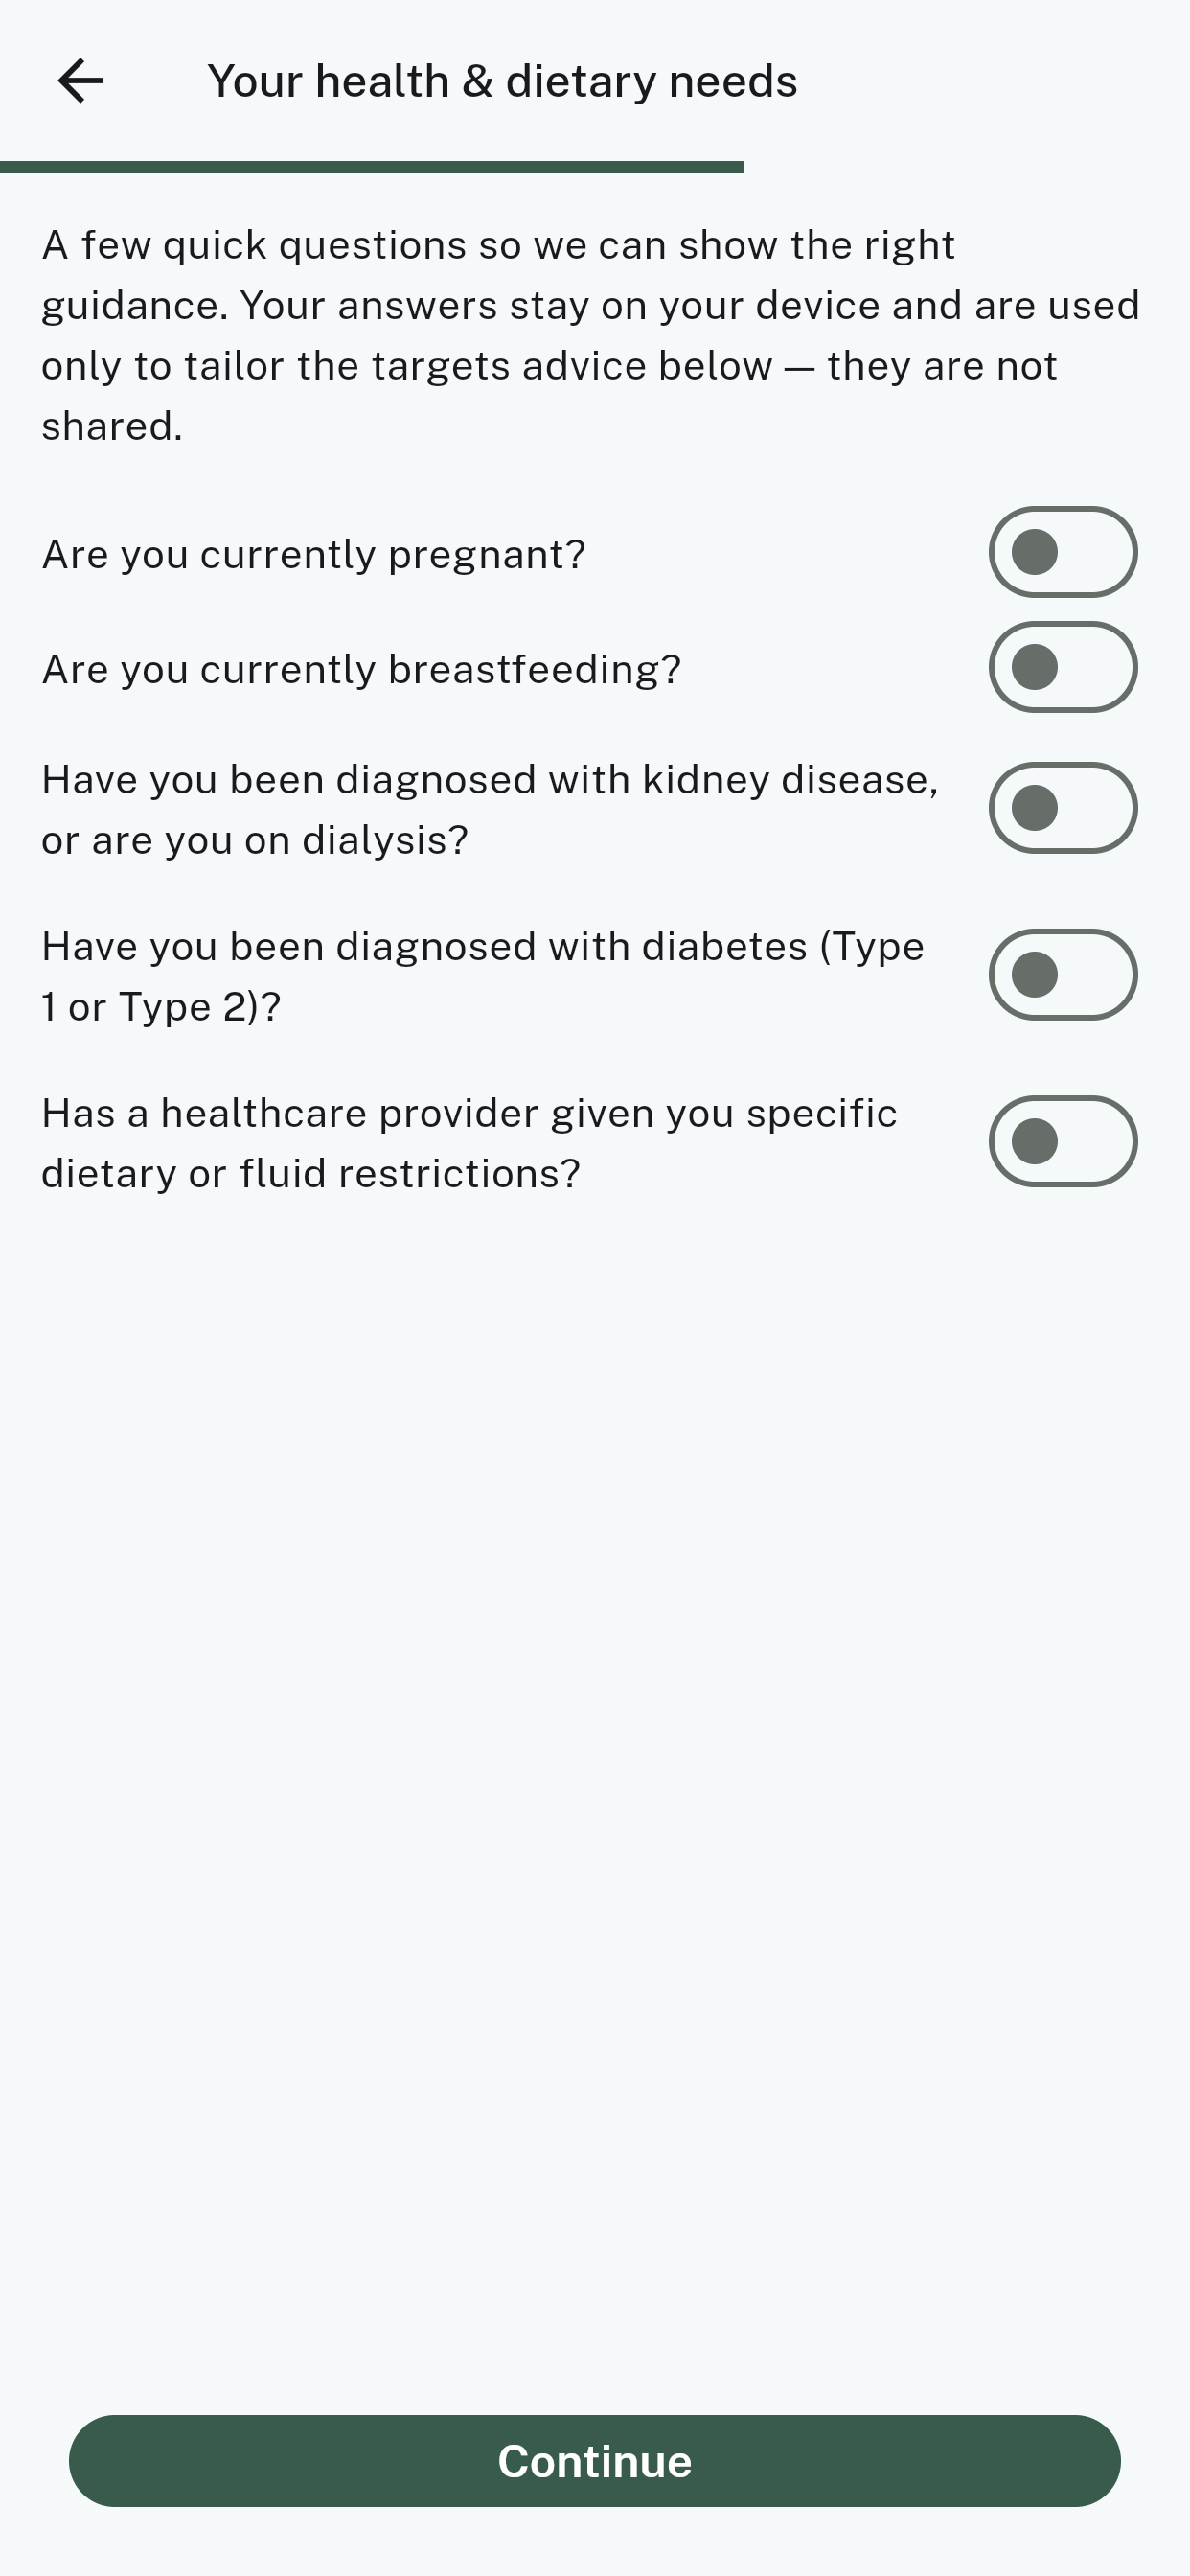
Step 6 — Your health and dietary needs
Five yes-or-no switches. They're here for your safety, not for our records.
The nutrition targets Food Signals suggests are based on guidelines written for generally healthy adults. If you're pregnant or breastfeeding, or you live with kidney disease or diabetes, or a healthcare provider has already given you specific dietary or fluid instructions, those general targets aren't the right ones for you. Switching these on tells the app to show you the right guidance instead.
Leave a switch off if it doesn't apply. Then tap Continue.
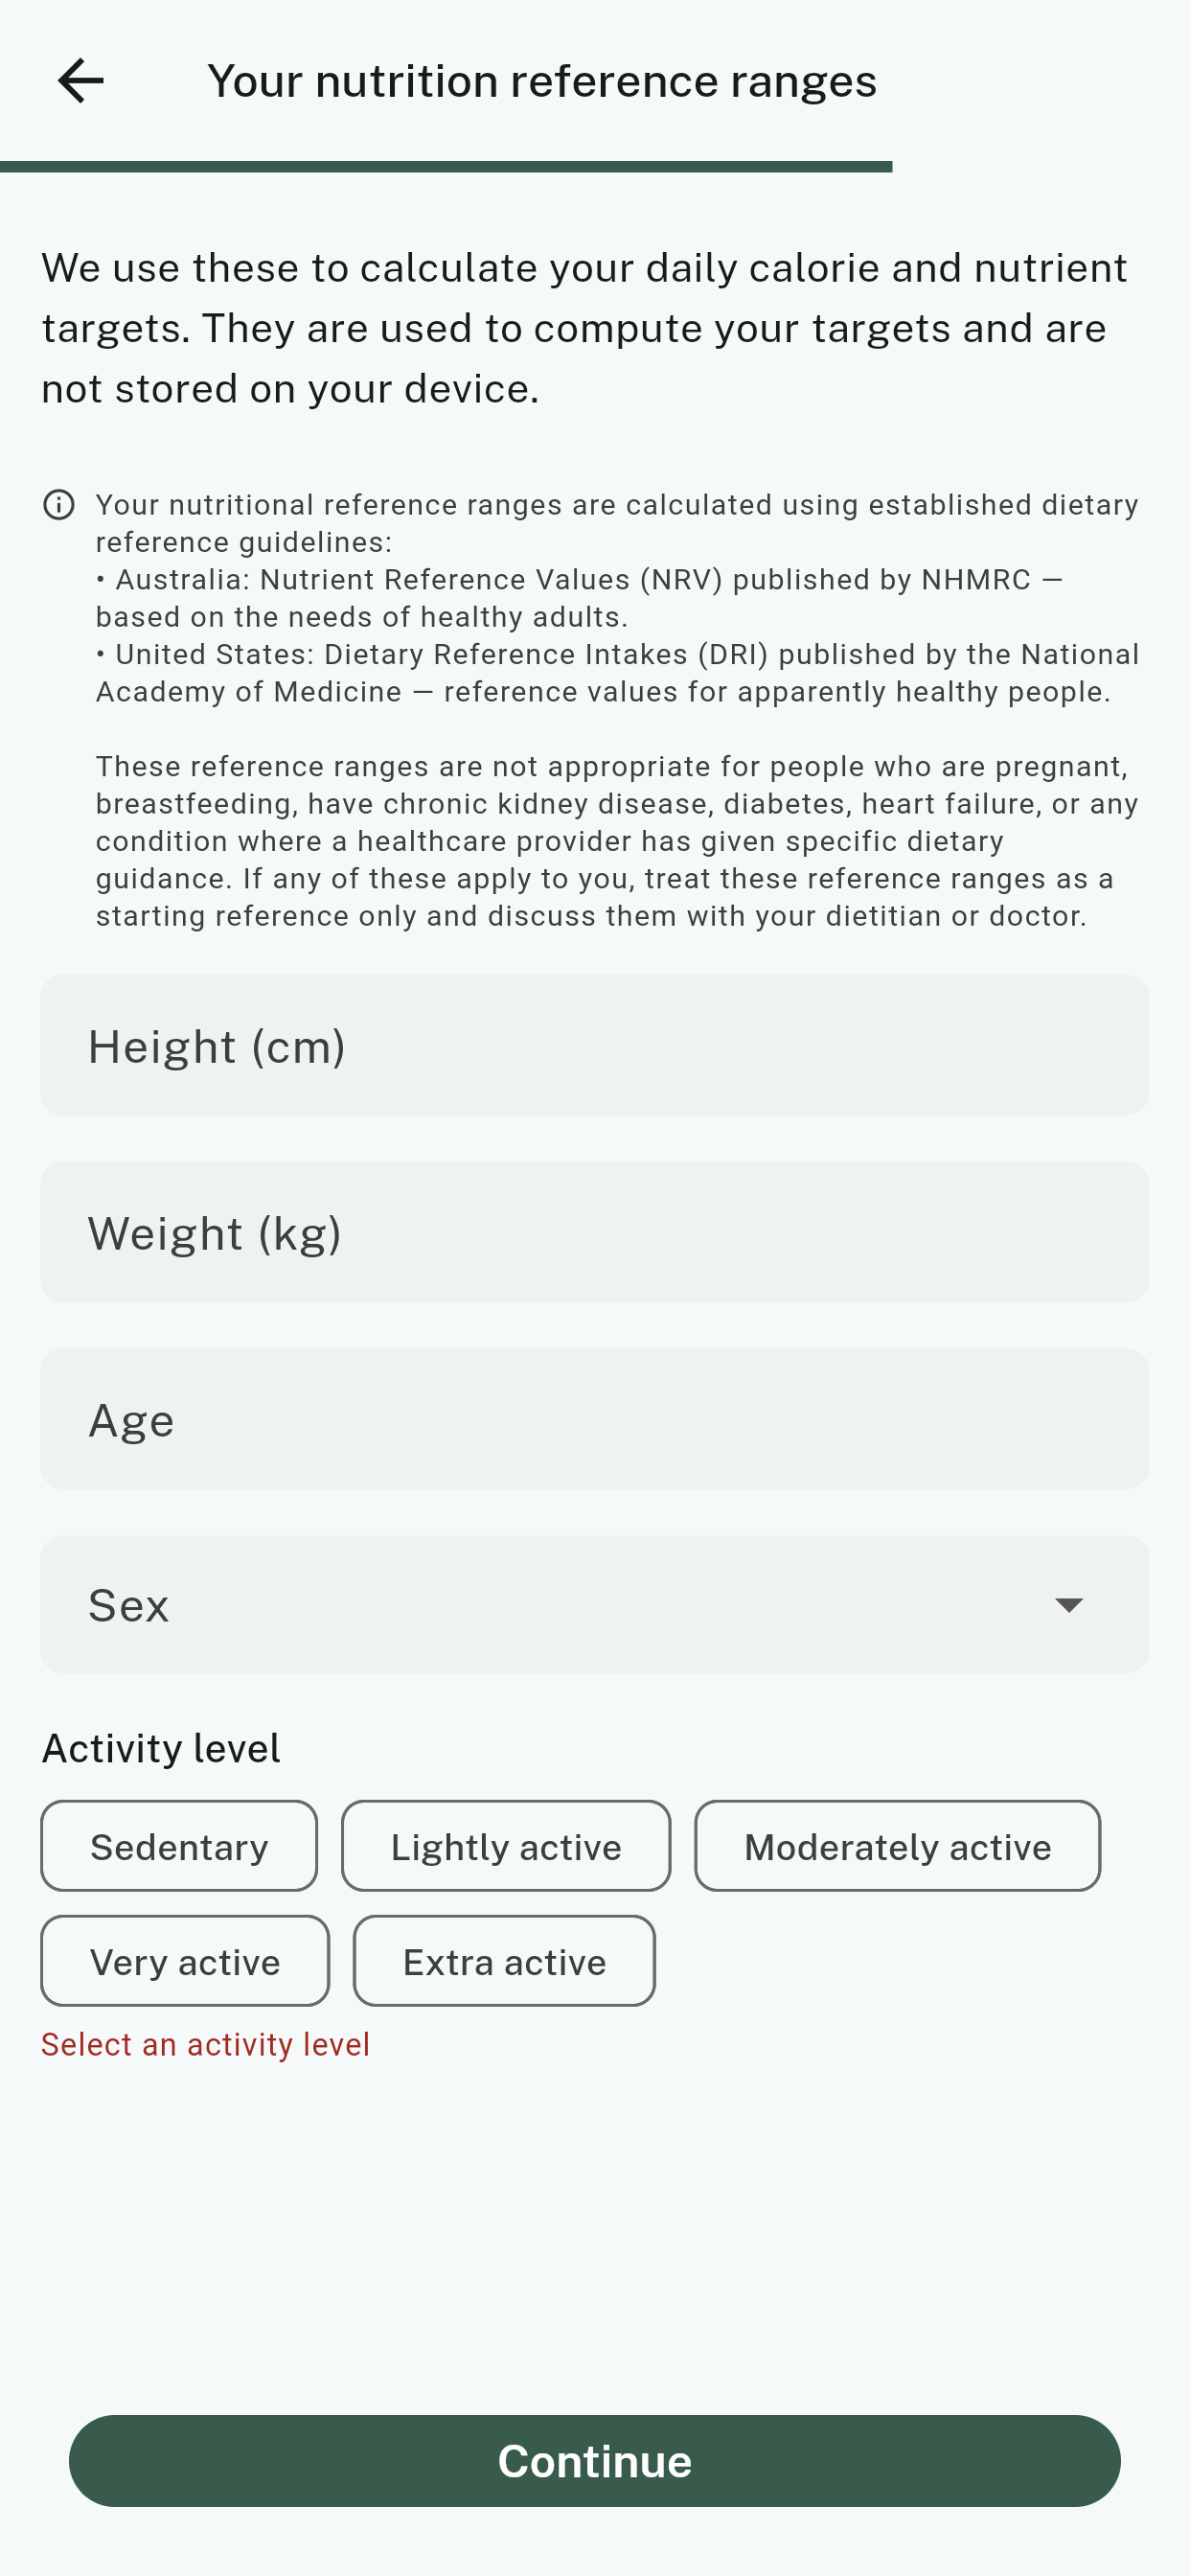
Step 7 — Your nutrition reference ranges
Height, weight, age, sex and how active you are. From these, the app works out a daily calorie and nutrient target to measure your meals against.
We understand these are personal. Here's exactly what happens to them: they are used to calculate your targets, and then they're gone. The numbers themselves aren't stored — only the targets they produce.
Fill in the fields, tap your activity level, then tap Continue.
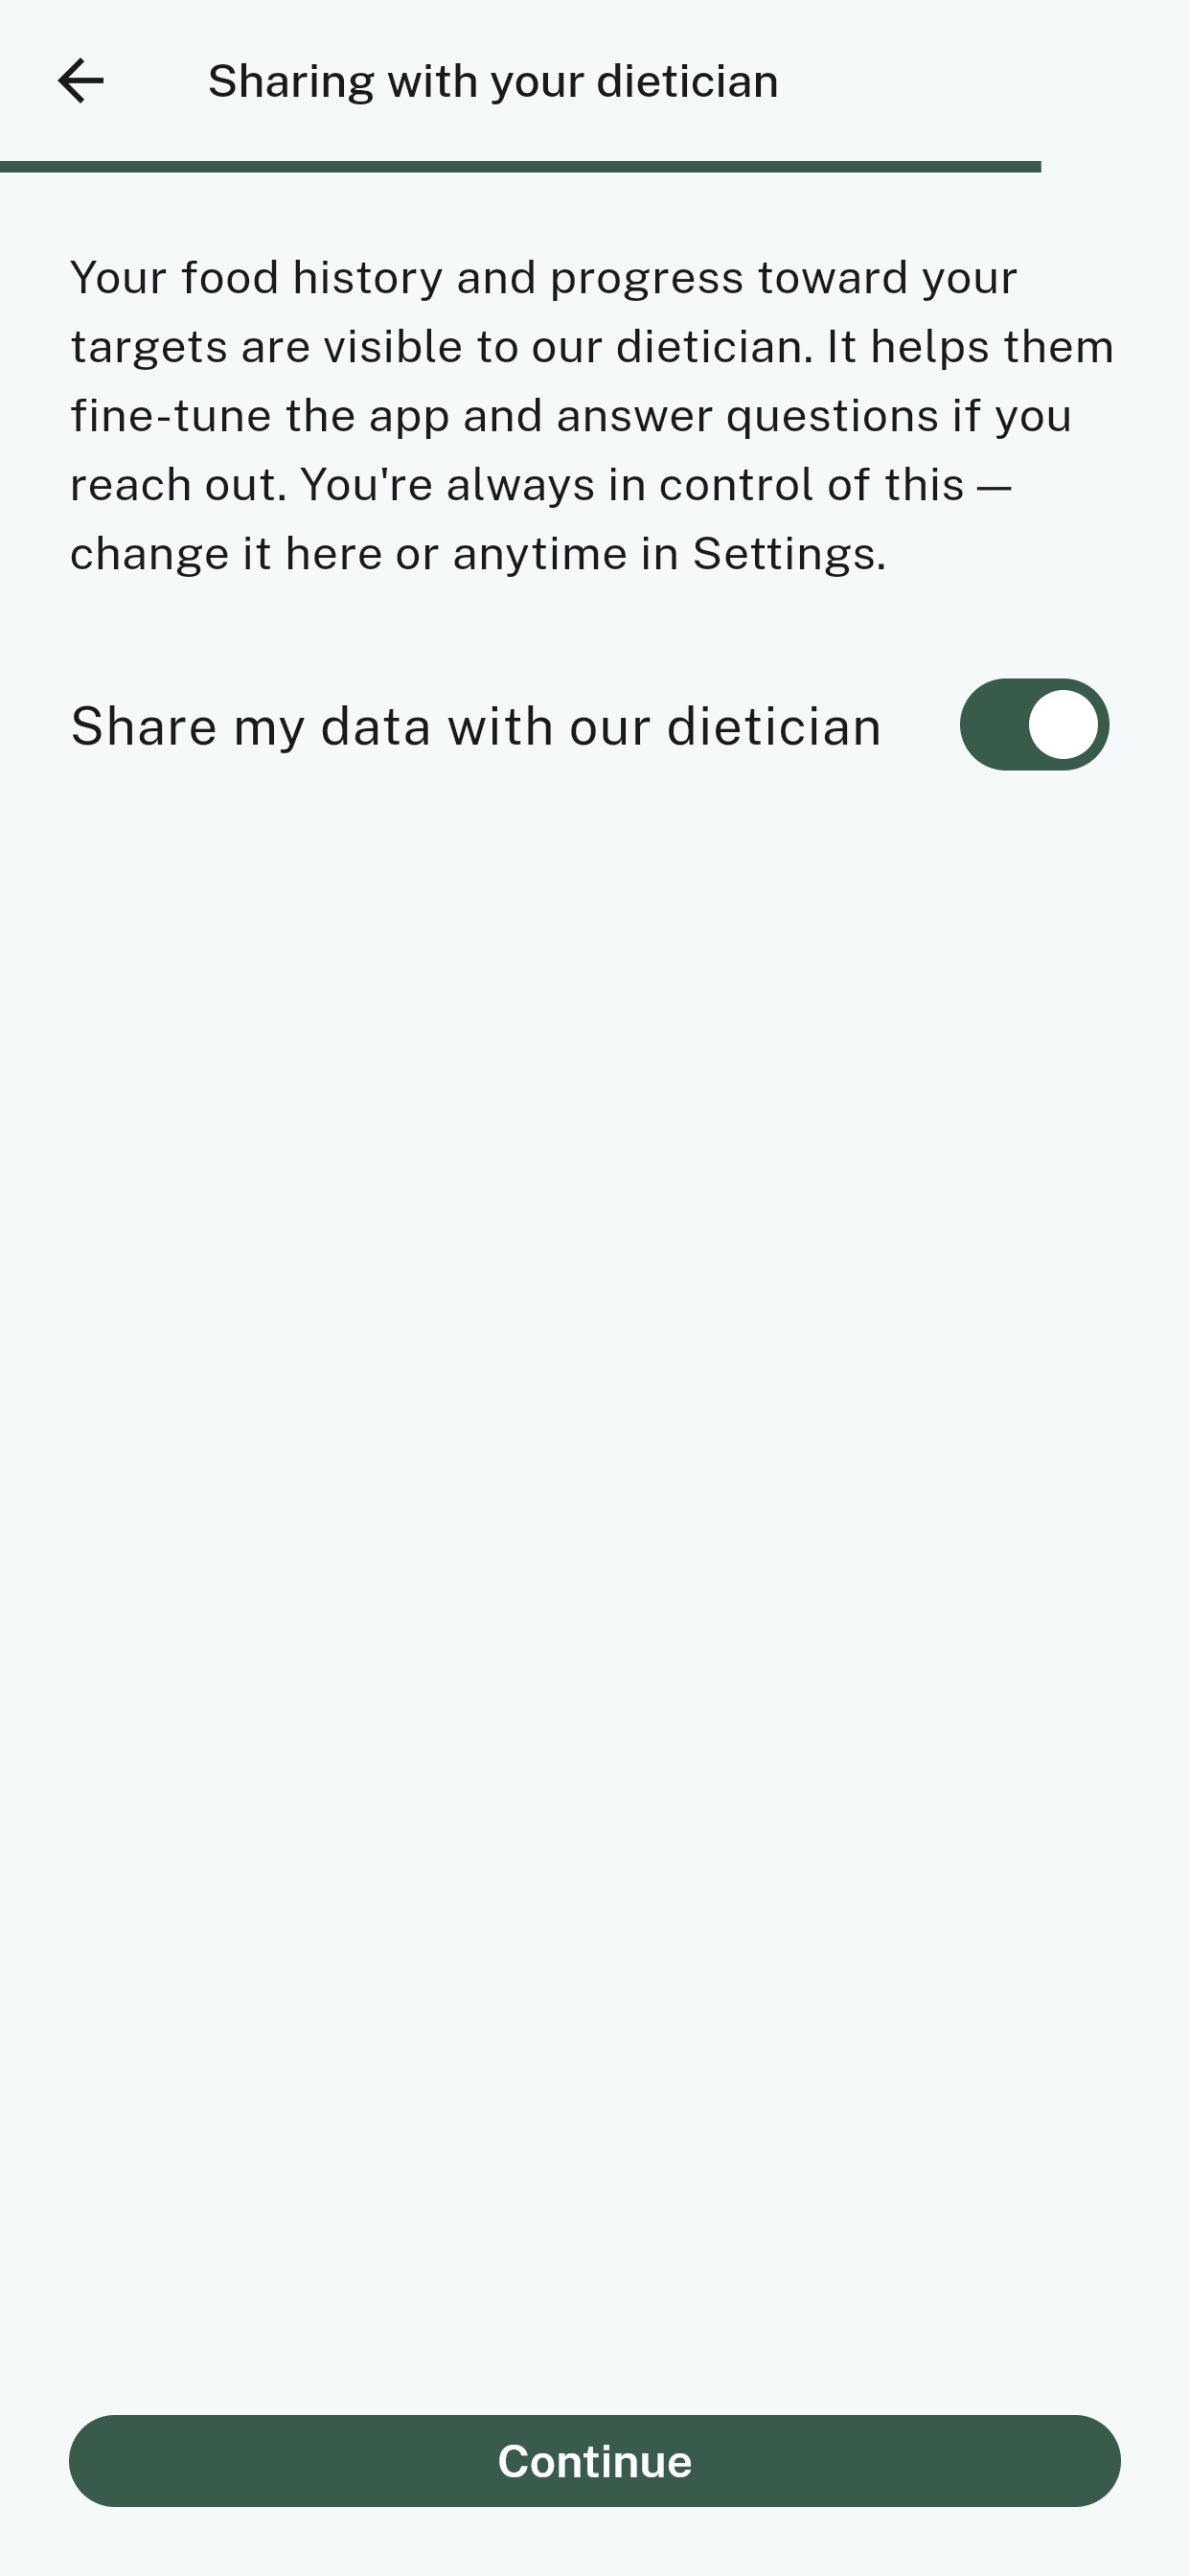
Step 8 — Sharing with your dietitian
This switch controls whether Ruby — the dietitian behind Food Signals — can see your food history and your progress against your targets. It's on when you arrive at this screen.
During the closed trial it's what lets her fine-tune the app and answer properly if you write in with a question. If you'd rather she didn't, tap the switch to turn it off. Nothing else about the app changes, and no one will ask you why.
You can change your mind at any time, either here or later in Settings.
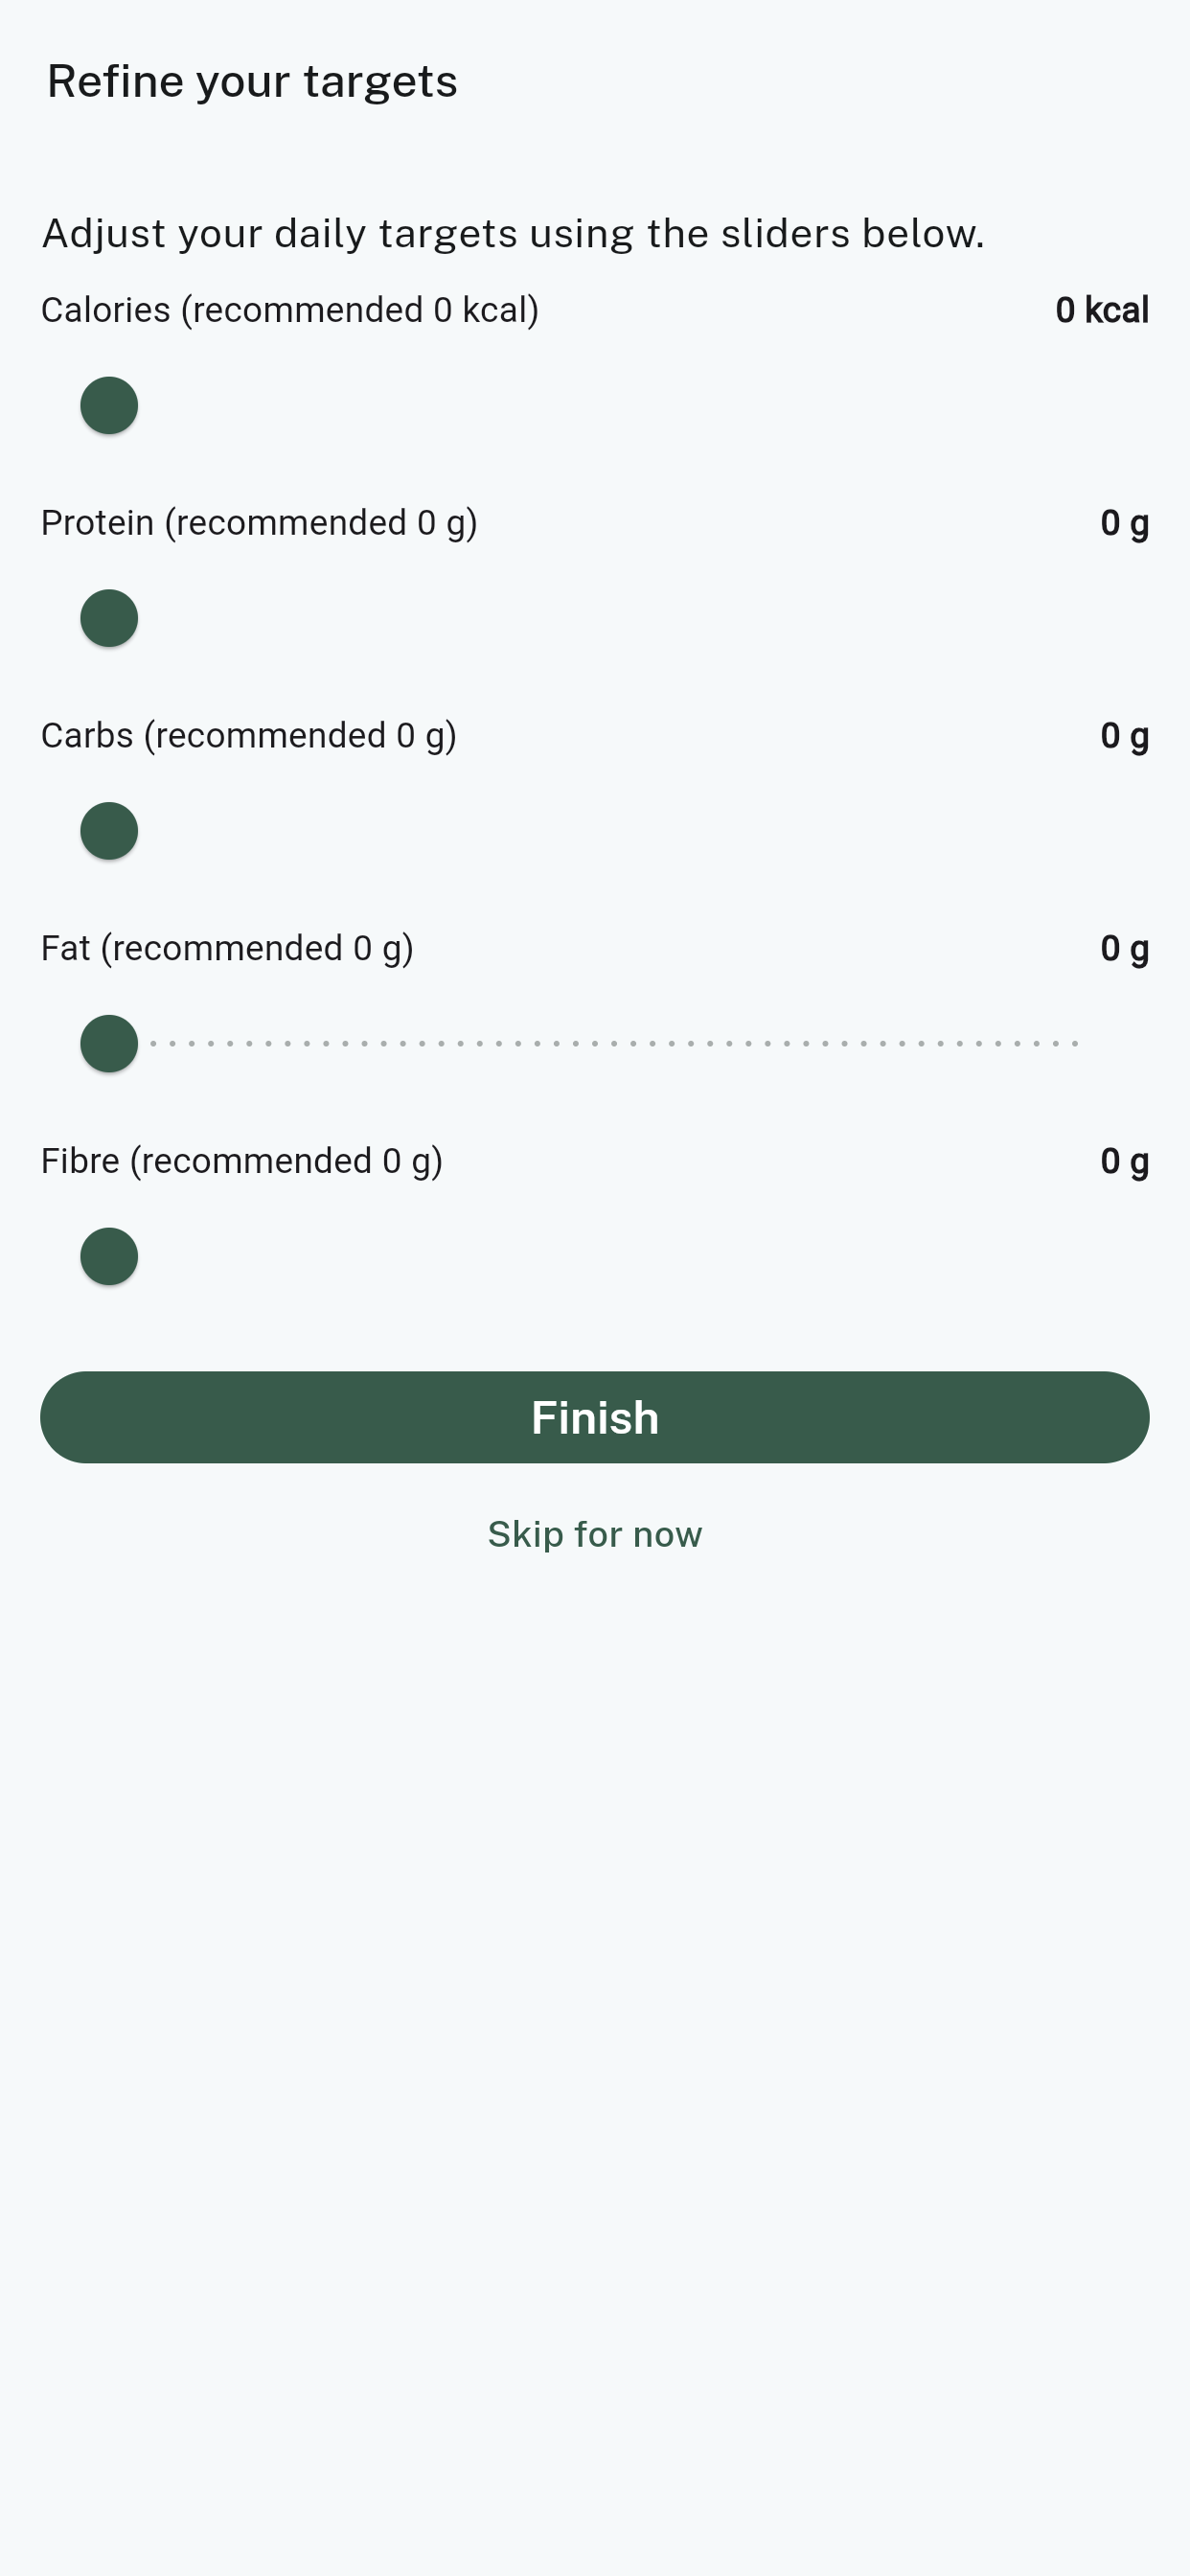
Step 9 — Refine your targets
The last screen. Food Signals has done the maths and suggests a daily target for calories, protein, carbs, fat and fibre. The recommended figure sits underneath each slider.
Most people should leave these exactly as they are. They're only here so that if your dietitian has given you a different protein target, you can match it.
If you do move a slider and want to undo it, put it back on the recommended number shown below it.
Tap Finish, or Skip for now to accept the recommendations.
That's setup done
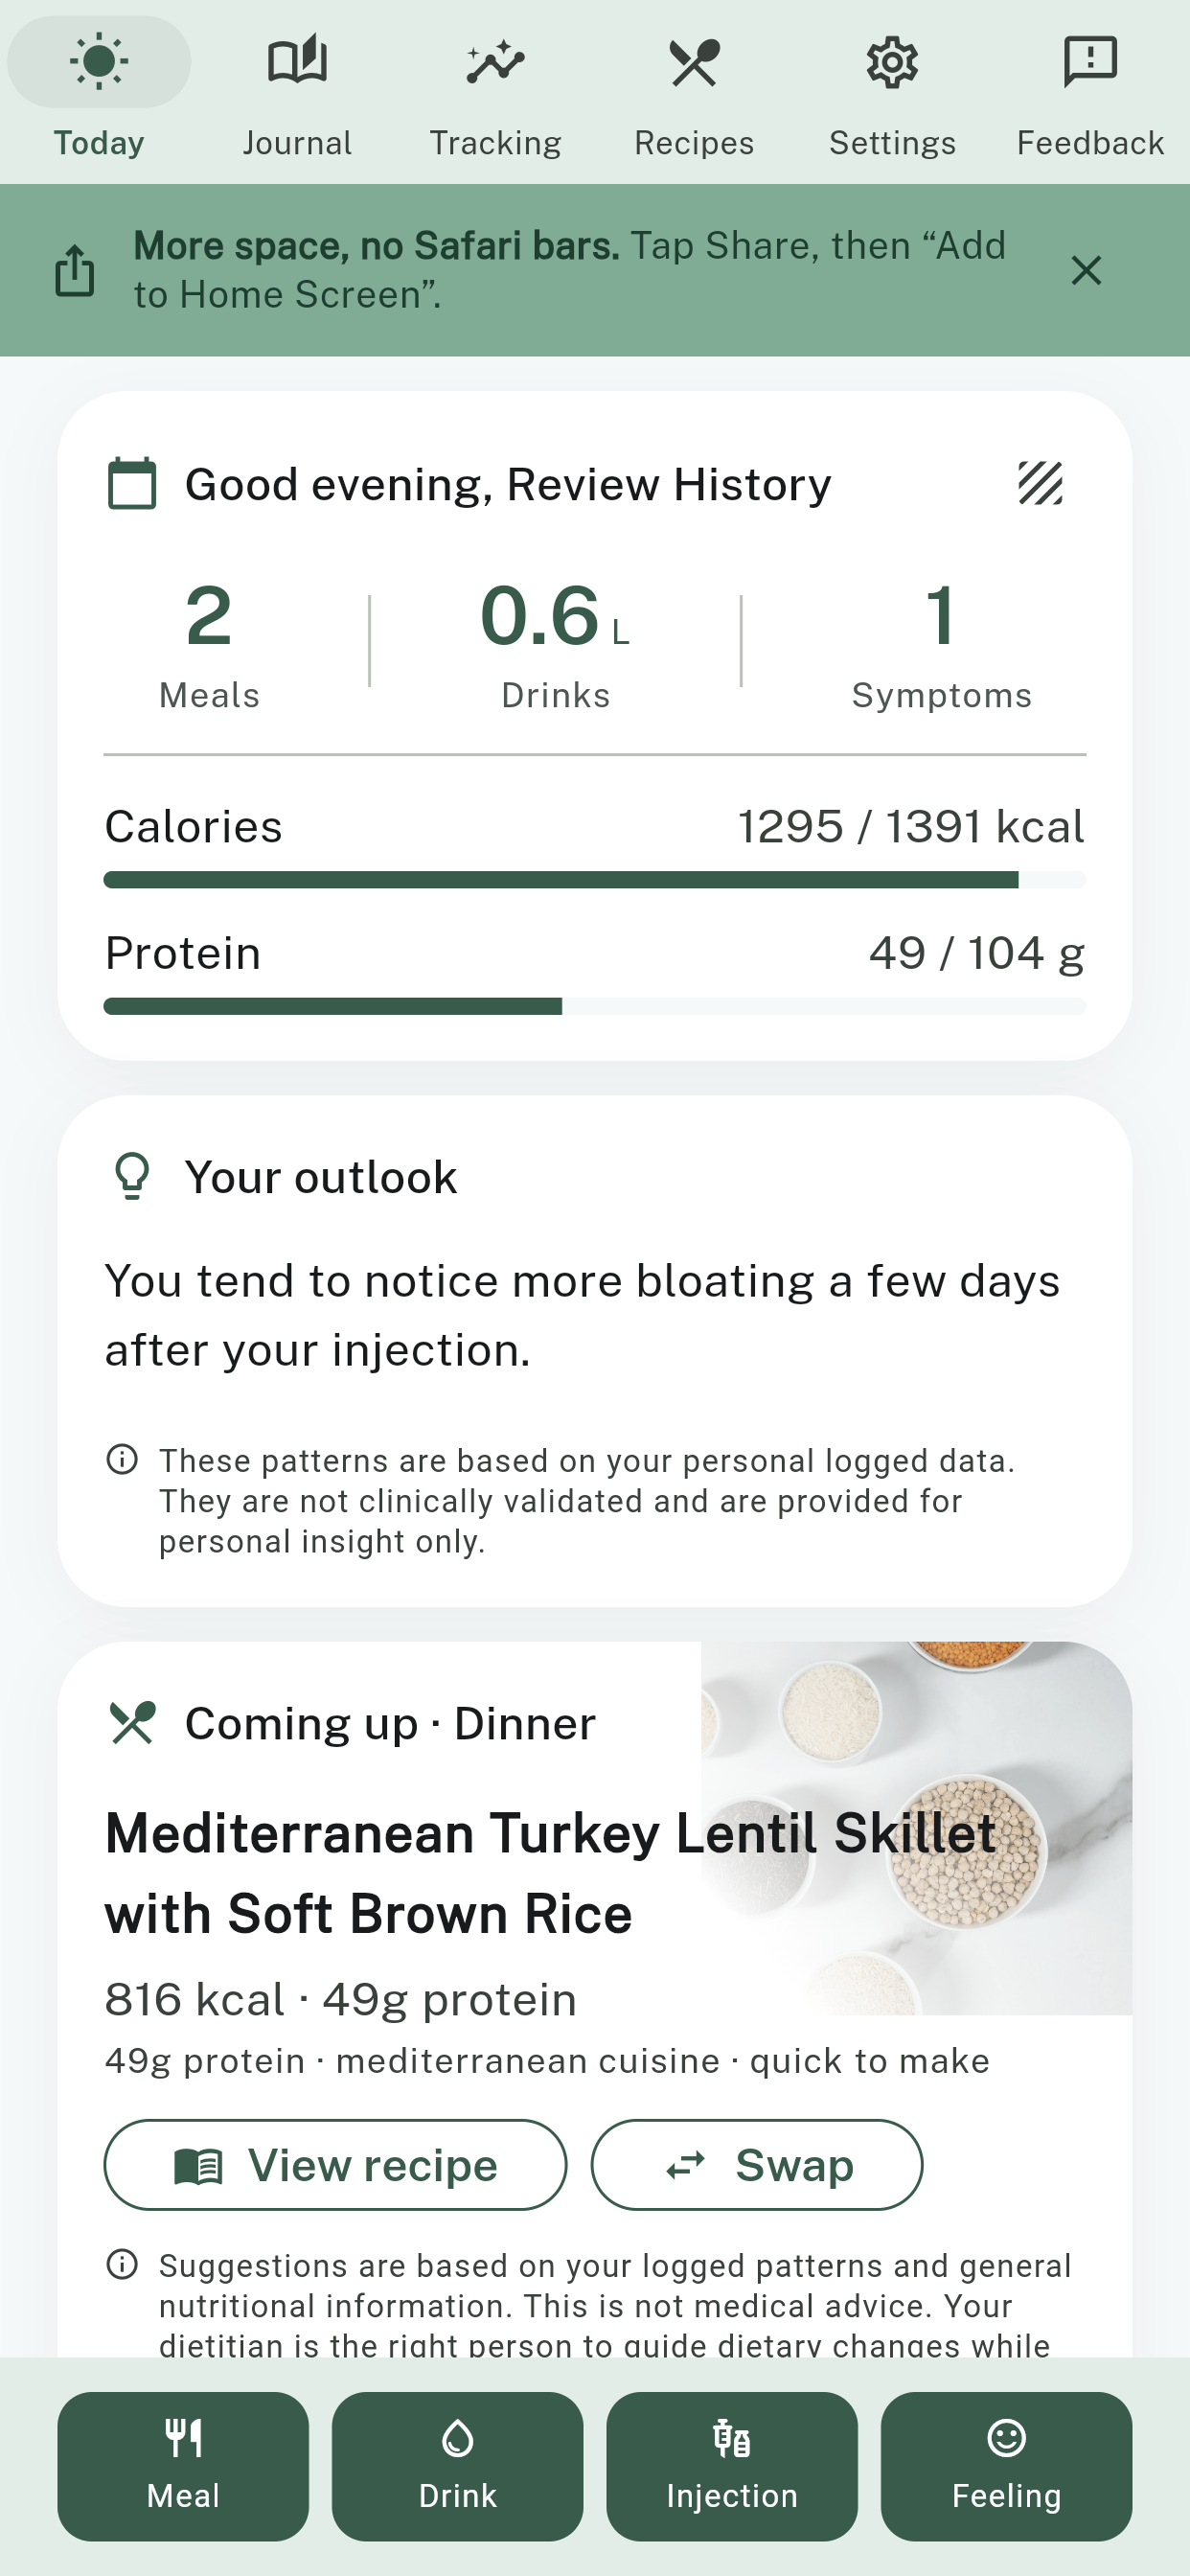
You'll land on the Today screen. It'll look quiet, because you haven't logged anything yet — that's exactly as it should be.
Two things to notice. The menu runs across the top: Today, Journal, Tracking, Recipes, Settings and Feedback. The four green buttons sit along the bottom: Meal, Drink, Injection and Feeling. Those four are the ones you'll actually use.
Your next step is a small one: tap Meal and log one thing you ate today.
Using Food Signals every day →
Common worries
"I don't think I answered that correctly." Nothing you entered is locked. Tap Settings in the menu along the top and change it. The app recalculates from there.
"I skipped a few screens." That's fine — the app works. Filling them in later just makes the recipe suggestions more useful.
"I don't want to share my data with the dietitian." Turn the switch off in Settings. The rest of the app works exactly the same.
"I want all of it gone." Open Settings and tap Delete account. Your data is deleted within 30 days and we confirm it by email.
Food Signals provides general dietary information based on nutritional science and GLP-1 tolerability research. It is not a substitute for professional medical advice, diagnosis or treatment, and it does not diagnose, treat or prevent any condition. Always consult your prescribing doctor, pharmacist or registered dietitian before making dietary changes while on a GLP-1 medication. Do not use this site or app to make decisions about your medication.